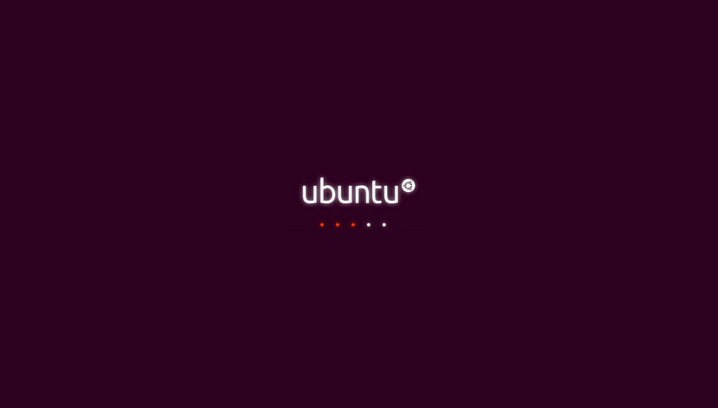
Ubuntu Boot problems after install On A2
-
@markatrafik wrong section, I think ubuntu touch may overwrite some files
-
@carlod Some people claim that the files on the 'persist' (ext4) and 'persist_image' (emmc) partitions were changed, but I saved and restored those too. So something else. Maybe some code inside in the WiFi chip (Qualcomm) ? Unfortunately I do not know yet in detail how it works.
-
@markatrafik HI, I had the same issue with MAC address to 02:00...
To fix it, I had to go to fastboot unlock critical and do a flash_all from a stock androidone.
Tell me whether you need more info. -
Hi, as anyone find out how to resolve the problem. I am currently stuck with that.
I also sent the video on the telegram channel (Ubuntu touch install troubleshooting) few minutes a go. -
@Tinninator Hi, some things I have found with Xiaomi devices.
-
Unlock the bootloader using the MiFlashUnlock tool on a Windows machine. Most seem to have issues when trying to do this on a Linux system.
-
Flash the required ROM using the MiFlash tool. Again there seems to be issues trying this on the command line in Linux. Use Windows.
-
DO NOT RELOCK the bootloader as this can brick the device.
-
The Xiaomi A2 runs Android One which is not the Usual Mi bloatware so things work slightly differently, i.e you can get away with command line unlocking, but use the command:
>./fastboot oem unlock_criticalas it will unlock all the boot partition and won't cause an issue with installing UT.
I have two of the A2's and both were pretty straightforward to install UT and I used my Windows 11 machine which is all USB 3.0. Both A2's have their MAC addresses and their IMEI's (which is why the oem unlock_critical is important).
-
You must ensure the DATA partition is EXT4 - this is important for mobile Linux operating systems (UT, SailfishOS etc...).
-
Once the bootloader is unlocked, this is important, boot back into ANDROID and set it back up again.
-
use TWRP to change the DATA partition to EXT4.
-
Download the vendor image and load it when requested in the installer - use the installer to install UT.
I am not a coder, programmer, genius etc. I have found a lot of this out here, XDA-developers forum and a lot of googling.
Overall my advice is to keep it simple, if it doesn't work on Linux, try Windows. Install Android Studio and update it - it gives you the latest ADB and Fastboot drivers.
-
-
@MrT10001 Hi used windows 11 for the installation as well, but i wasn't aware of EXT4 for Data partition.
For the rest i've done the same as you.
Question is, what should i do now? Reinstall Android and try all over again? or something else?
(In case i have to reinstall Android, how?) -
@Tinninator No, try this, boot TWRP and in Wipe, Advanced wipe, change the DATA partition to EXT4. Wipe the Cache as well. Then reboot to the boot loader and run it through the installer again, tick the wipe data box.
I would install Focal (20.04), it seems to be working fine. (less apps, but it is catching up).
-
@MrT10001 i've checked the partition and it was already EXT4.
So it wasn't that the problem it seems -
@Tinninator Have you wiped the data, cache, dalvik/cache partitions? Try that and run the installer again.
-
@MrT10001 it didn't work. it is still in the same loop
-
@Tinninator Ok, go back to the beginning. Get the Android stock ROM back on the device, use the MiFlash tool, but DO NOT lock the bootloader - there is a drop down menu on the bottom right of MiFlash program - it defaults to locking the bootloader, enure it states not locking bootloader.
If the MIFlash tool is a bit annoying and doesn't work, use the TWRP recovery and sideload the ROM onto the device.
Once you are back up and running on stock, try the install again.
-
@MrT10001 i am trying with MIflash, but it give me error: Can not found file flash_all.bat.
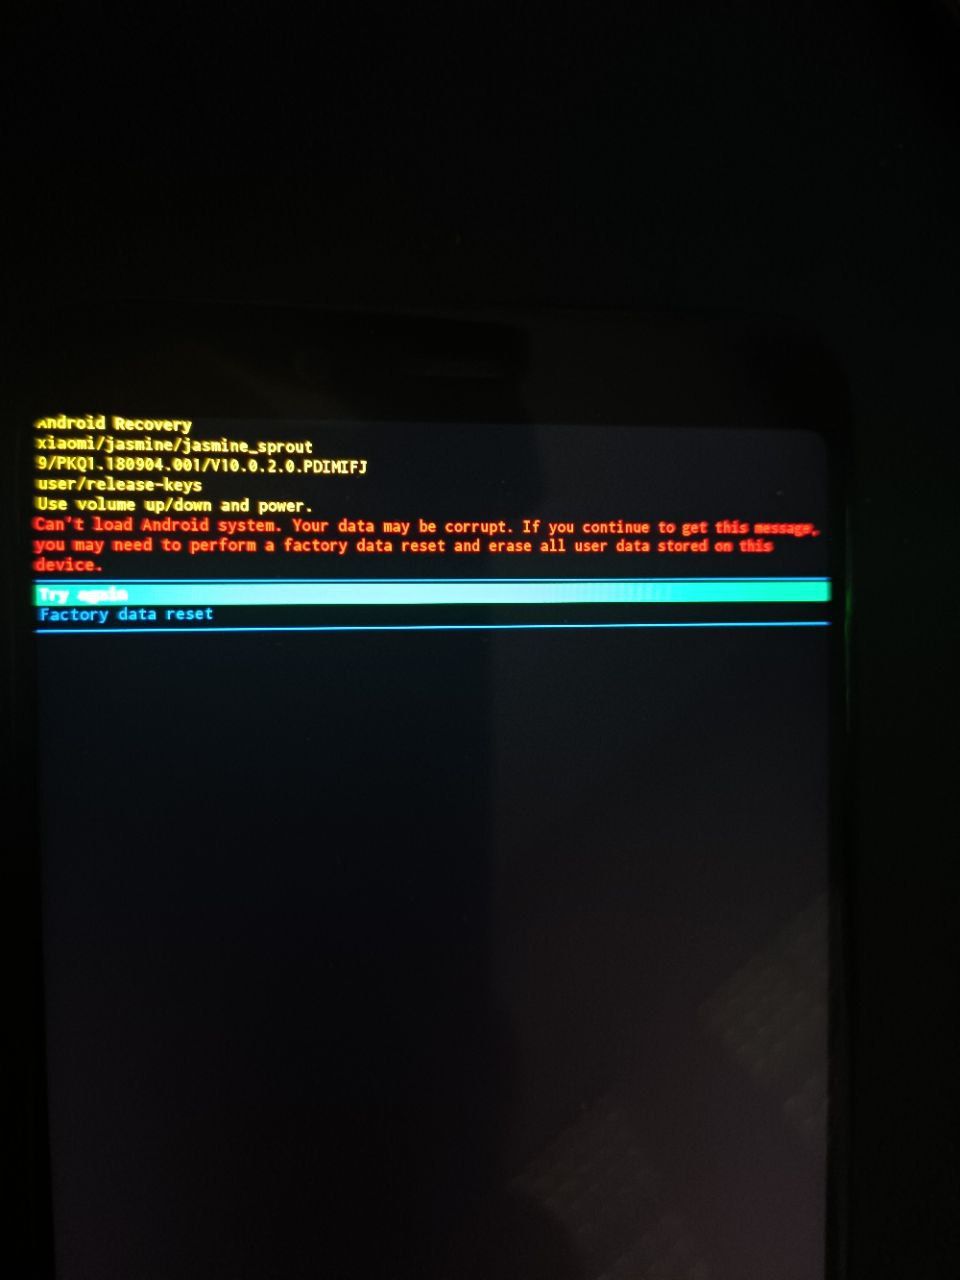
Can you tell me the steps to use TWRP correctly? Last time i' ve tried it told me the files were corrupt and i was force to make a factory reset -
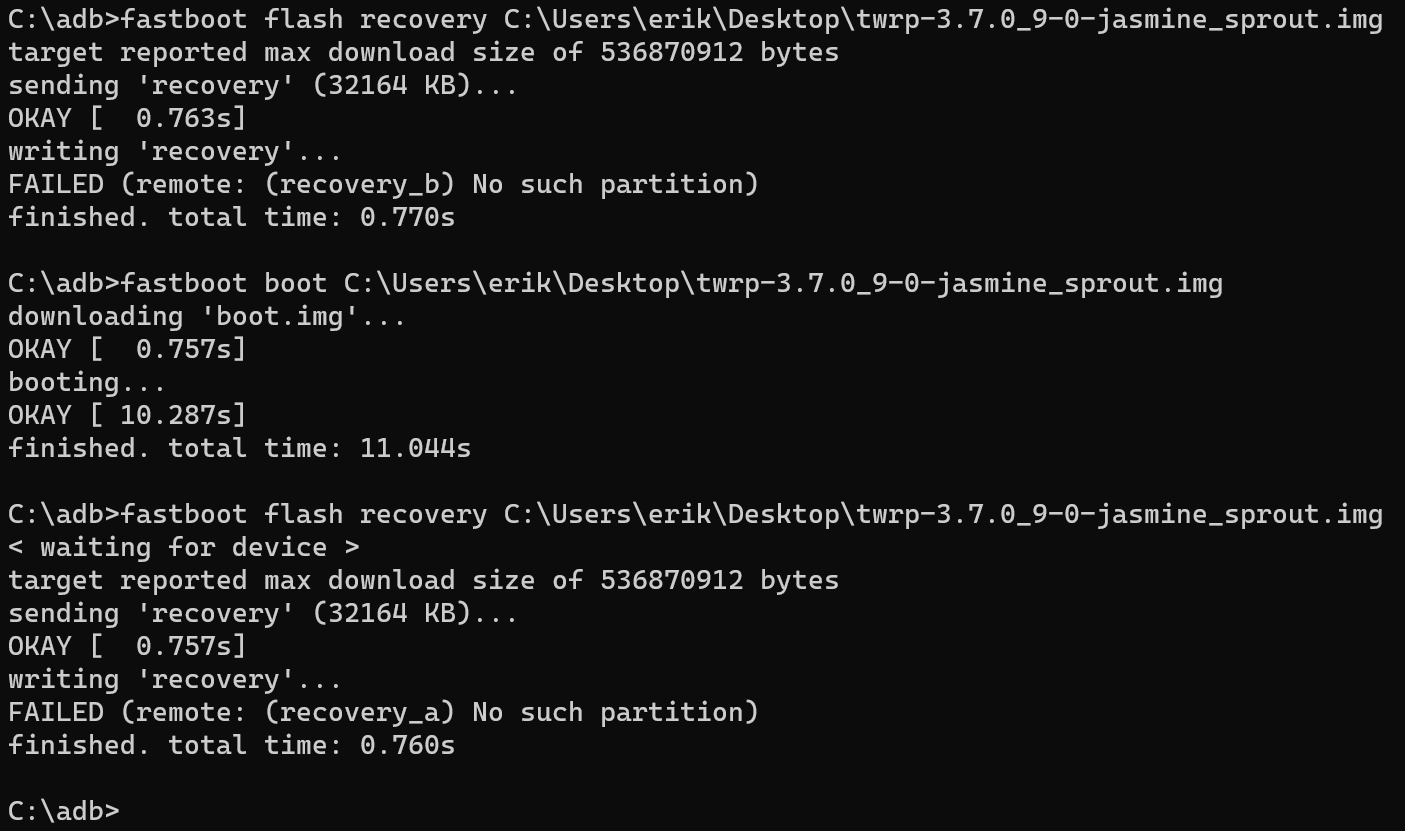
@Tinninator 1) Connect the the device to PC and Boot the device to fast boot. (make sure you have a command prompt open in your fastboot/adb folder on the PC)
- Command:
fastboot flash recovery <location of your TWRP image>-
In TWRP goto WIPE, Advanced wipe, tick the boxes for Dalvick/cache, Cache, Data and system.
-
Go back to TWRP home and reboot recovery.
-
Once back in TWRP, go to Advanced and choose ADB sideload
-
on the PC type:
./adb sideload <location of your ROM zipfile>- on the phone swipe to sideload
This may not work as the zip file is not in a format to sideload
Also you need to read up on making the slots active herePoint 2 on the device page:
"Your device must be running a specific android 9 build before installing Ubuntu Touch. You can use the link below to download it. You can use either use stock recovery or TWRP recovery to flash it. Flash it to both slots to be safe"
Edit:
In essence don't use the MiFlash tool. Manually install Android 9 to both slots (A and B).
-
@MrT10001 Hi, first, thanks for all the help.
Second,even in both side (a and b) your command didn't work.
Using instead fastboot boot i managed to enter TWRP and do all your steps of point 1. (you need to start sideload and after launch the command otherwise it will give you error i saw).
Now I am withous OS, how do I install the rom on the 2 side? -
@Tinninator you need to make slot b active and sideload the ROM. Then reboot to fastboot and make slot a active. Reboot to TWRP and sideload the ROM .
-
@MrT10001 Same problem like last time i tried. I had there to choose the second option to let Android 9 start.

-
@Tinninator follow up.
I've done the factory reset and tried again the installation.
I am back at the start. Boot and crash -
@Tinninator On your PC in your ADB/Fastboot (see note at the bottom) folder command prompt:
./fastboot flash recovery <location of your TWRP image file>In TWRP wipe Cache/Dalvik
In TWRP wipe data
In TWRP wipe system
In TWRP wipe internal storageIn TWRP reboot to the bootloader.
On your PC in your ADB/fastboot folder command prompt::
./fastboot --set-active=bThen:
./fastboot flash recovery <location of your TWRP image file>In TWRP:
Advanced, adb sideload, wait
and then go to your PC and type in the ADB/Fastboot command line:./adb sideload <location of your zipped Android ROM>Wait, set the slider to start the install and then hit enter on the PC. Once it has finished in TWRP, reboot to the bootloader and in your PC ADB/fastboot folder type in:
./fastboot --set-active=aThen:
./fastboot flash recovery <location of your TWRP image file>Then reboot to recovery and in TWRP, Advanced, adb sideload and then go to your PC and type in the ADB/Fastboot command line:
./adb sideload <location of your zipped Android ROM>Wait, set the slider to start the install and then hit enter on the PC. Once it has finished in TWRP and the PC command line, reboot to the system.
If all goes well it will boot into Android.
Once in Android, set USB debugging once you have enabled developer options and follow the onscreen instructions on the Ubuntu Touch installer.
Points to note:
Have your vendor.img file downloaded and ready.
Install Android Studio - all of it.
Why?
It will give you the latest ADB and fastboot drivers which work. It works constantly on all my installs with no issues. This is on Windows (10 and 11), MacOS and Linux.
In Windows navigate to:
C:\Users\<yourname>\AppData\Local\Android\Sdk\platform-toolsto access ADB and fastboot running the command line.
If the set active slot command fails, research for the commands, the syntax of the command gets tweaked and may be slightly different
-
@MrT10001 Same problem.
Can't load Android system, your data may be corrupt -
@Tinninator You have formatted data in TWRP to EXT4? You have wiped in advanced wipe all above? You have tried another USB cable? You have redownloaded the correct ROM? The bootloader is unlocked?
If so, then you are probably looking at a hardware fault, which basically means the device needs specialist repair.
