OnePlus 6 android 11 OxygenOS11.1.2.2
-
@ginggs said in OnePlus 6 android 11 OxygenOS11.1.2.2:
rollback build OB25
Rollback build OB25 has worked for me every time without fail, it must be put to the root of the OP6 storage, ie, it cannot be in a folder or it won't work.Once your bootloader is unlocked you must reboot the device and set Android up again.
In Developer mode you must enable USB Debugging for the installer to see the device.
-
@MrT10001 said in OnePlus 6 android 11 OxygenOS11.1.2.2:
Once your bootloader is unlocked you must reboot the device and set Android up again.
In Developer mode you must enable USB Debugging for the installer to see the device.
I had done that.
My first problem was that the "Allow USB debugging?" prompt was not appearing on the device after plugging it in. After several more attempts, it appeared and the Ubuntu Touch installer was able to recognize the device. (I think it may have been due to the device not having the correct date and time set, but am not sure).
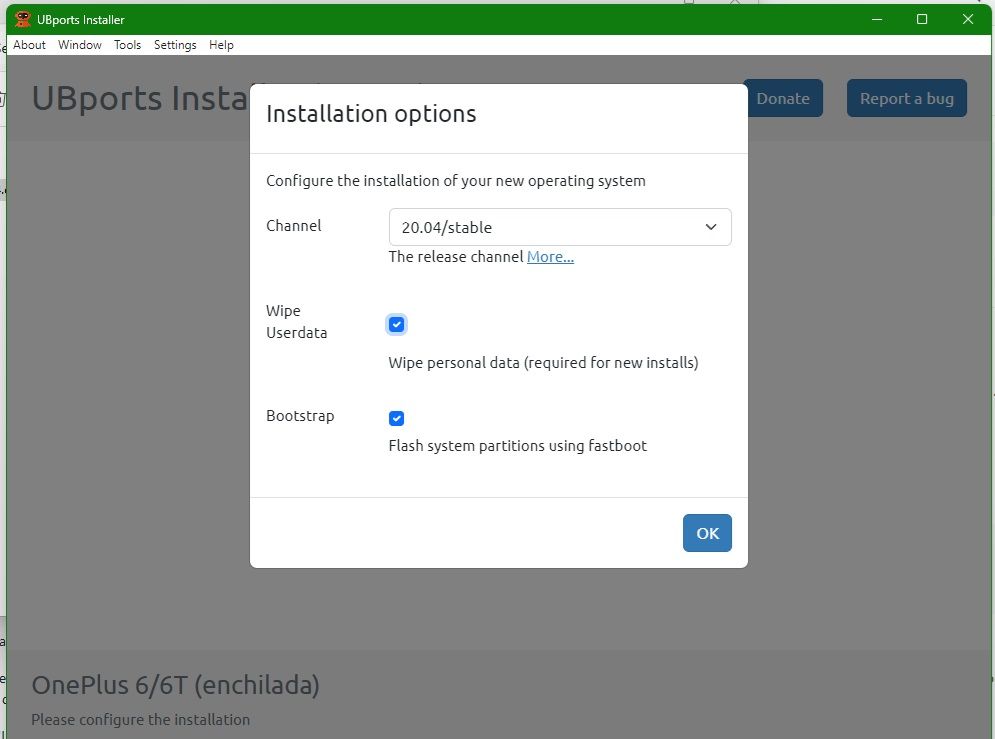
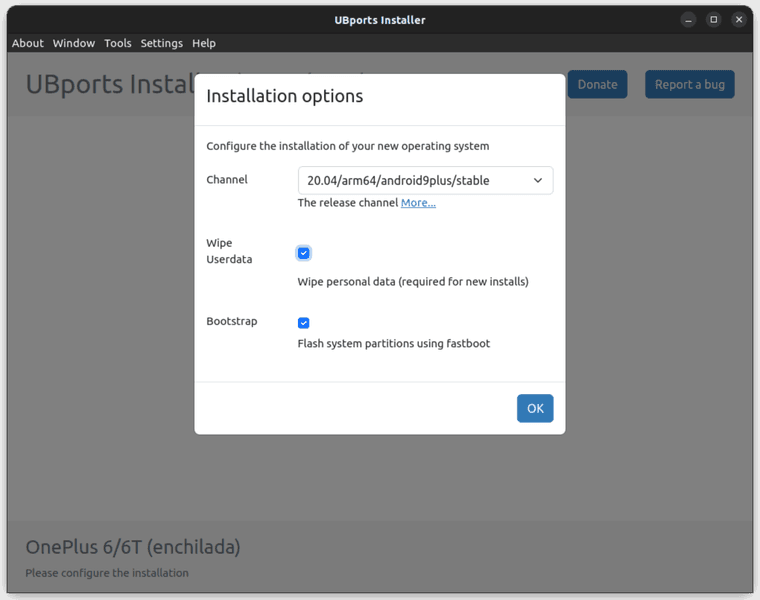
After setting "Installation options":
Channel: 20.04/arm64/android9plus/stable
Wipe Userdata: Wipe personal data (required for new installs)
Bootstrap: Flash system partitions using fastboot
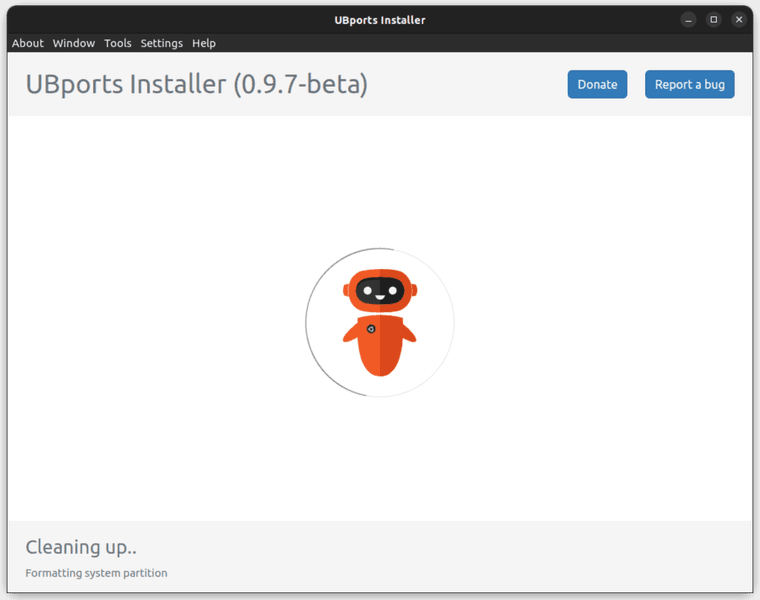
The device rebooted to the Fastboot menu, and the Ubuntu Touch installer displayed:
Cleaning up...
Formatting system partitionNothing happened for about 20 minutes, until I gave up.
-
This is what te installer should look like on first install.
@ginggs said in OnePlus 6 android 11 OxygenOS11.1.2.2:
Channel: 20.04/arm64/android9plus/stable
As you can see that is not displayed, so you must be using an older installer.
-
@MrT10001 said in OnePlus 6 android 11 OxygenOS11.1.2.2:
As you can see that is not displayed, so you must be using an older installer.
I have 0.9.7-beta from latest/stable channel installed. Which version should I be using?
-
@ginggs It should still work, however as we know, it also may not

On my Ubuntu Machine I have installed it using the snap store and the Edge version which is version 0.10.0. I use this version on my Windows machine as well.
-
@MrT10001 said in OnePlus 6 android 11 OxygenOS11.1.2.2:
@ginggs It should still work, however as we know, it also may not

On my Ubuntu Machine I have installed it using the snap store and the Edge version which is version 0.10.0. I use this version on my Windows machine as well.
Thanks! OK, I did:
$ snap refresh ubports-installer --edge
ubports-installer (edge) 0.10.0 from UBports refreshed
Unfortunately, the result was much the same.
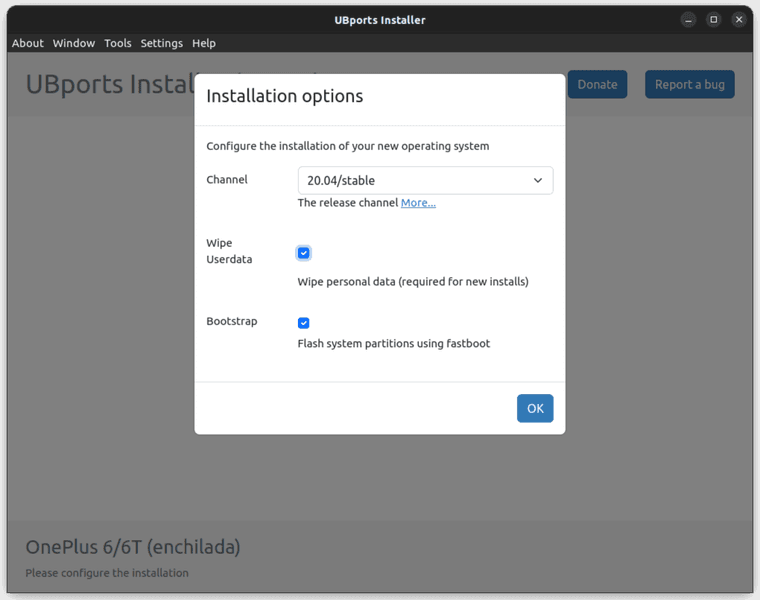
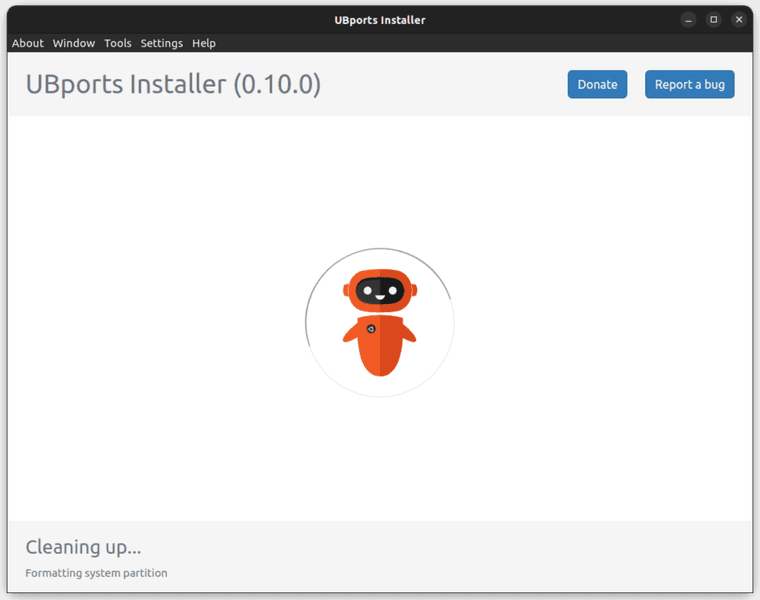
The device rebooted to the Fastboot menu, and the Ubuntu Touch installer displayed "Cleaning up..." but nothing further happened.
I'm wondering whether I need to go back a step, and figure out why the Local Upgrade of OnePlus6Oxygen_22_OTA_054_all_1908302047_fulldowngrade_f019784c78234a67.zip does not work.
-
@ginggs That rollback has worked for me (the OB25 rollback is for the OP6, not 6T).
Download the last Android 9 flashable zip from here.
On a Windows machine, open a terminal in the extracted folder and attach the device in fastboot mode. Then run the flash-all.bat file.
This will return the device to Android 9.0.17.
Then you can try again with the UT installer.
Something must have gone wrong on the install. I have found the OP5/5T, OP6 and 6T the devices that give me least problems downgrading Android and installing UT.
-
@ginggs said in OnePlus 6 android 11 OxygenOS11.1.2.2:
OnePlus6Oxygen_22_OTA_054_all_1908302047_fulldowngrade_f019784c78234a67.zip
Thats for the OP6, not 6T. Slightly different ROM even though there is cross platform development.
Go back to Android 9 for the OP6T and start again (I always go back to the start when there is an install issue).
-
@MrT10001 said in OnePlus 6 android 11 OxygenOS11.1.2.2:
Thats for the OP6, not 6T. Slightly different ROM even though there is cross platform development.
Oh right, thanks.
@MrT10001 said in OnePlus 6 android 11 OxygenOS11.1.2.2:
@ginggs That rollback has worked for me (the OB25 rollback is for the OP6, not 6T).
Download the last Android 9 flashable zip from here.
On a Windows machine, open a terminal in the extracted folder and attach the device in fastboot mode. Then run the flash-all.bat file.
I will try when I get access to a Windows machine.
Thanks again! -
I didn't find a Windows machine, so tried to flash from Ubuntu.
I looked at flash-all.bat, and saw that basically all it does is:
fastboot -w update images.zipSo I unpacked 9.0.17-OnePlus6TOxygen_34_OTA_024_all_1909112343_d5b1905-FASTBOOT.zip on my Ubuntu machine and after booting the device into Fastboot mode, ran:
$ fastboot -w update images.zipWhich seemed to be working, but then failed at:
...

Sending sparse 'vendor' 1/2 (785343 KB)            OKAY [ 32.142s]
Writing 'vendor'                                   OKAY [  0.001s]
Sending sparse 'vendor' 2/2 (31404 KB)             OKAY [  6.409s]
Writing 'vendor'                                   OKAY [  0.001s]
archive does not contain 'vendor_other.img'
Erasing 'userdata'                                 OKAY [  1.210s]

	F2FS-tools: mkfs.f2fs Ver: 1.14.0 (2020-08-24)

Info: Disable heap-based policy
Info: Debug level = 1
Info: Trim is disabled
Info: Set conf for android
	Error: Sparse mode is only supported for android
/usr/lib/android-sdk/platform-tools/make_f2fs failed with status 255
fastboot: error: Cannot generate image for userdata
I tried again, this time without -w:
$ fastboot update images.zipThis completed without error, however attempting to boot the device now gives me:
QUALCOMM CrashDump Mode
-----------------------

Attempted to kill init! exitcode=0x0000000b
                                           do_exit
Attempting to enter Recovery mode results in the same error, but I can still enter Fastboot mode, so the device is not bricked yet. :grinning_face_with_sweat:
-
@ginggs You cannot flash that through fastboot like that. With a .bat file it has to be Windows and run through the Windows terminal.
Linux would use the .sh and run through a CLI.
To manually flash you need to extract the images.zip file and then flash manually in this order:
fastboot flash aop_a aop.img
fastboot flash aop_b aop.img
fastboot flash bluetooth_a bluetooth.img
fastboot flash bluetooth_b bluetooth.img
fastboot flash boot_a boot.img
fastboot flash boot_b boot.img
fastboot flash dsp_a dsp.img
fastboot flash dsp_b dsp.img
fastboot flash dtbo_a dtbo.img
fastboot flash dtbo_b dtbo.img
fastboot flash fw_4j1ed_a fw_4j1ed.img
fastboot flash fw_4j1ed_b fw_4j1ed.img
fastboot flash fw_4u1ea_a fw_4u1ea.img
fastboot flash fw_4u1ea_b fw_4u1ea.img
fastboot flash modem_a modem.img
fastboot flash modem_b modem.img
fastboot flash oem_stanvbk oem_stanvbk.img
fastboot flash qupfw_a qupfw.img
fastboot flash qupfw_b qupfw.img
fastboot flash storsec_a storsec.img
fastboot flash storsec_b storsec.img
fastboot flash system_a system.img
fastboot flash system_b system.img
fastboot flash vbmeta_a vbmeta.img
fastboot flash vbmeta_b vbmeta.img
fastboot flash vendor_a vendor.img
fastboot flash vendor_b vendor.img
fastboot flash LOGO_a LOGO.img
fastboot flash LOGO_b LOGO.imgThanks to the XDA-developers forum @mauronofrio here.
